So far, our anchor variations have played with the first step of our triple. We’ve worked on keeping the anchor connection regardless of whether the first step crosses in front, moves to the side, or hooks behind.
As you practiced those variations, you may have felt a bit awkward in returning to a third foot position to finish the anchor. There’s a reason for that: the first part of the variation built some energy with the shaping to the front/side/back, and now you need to go somewhere with it. These variations will give you that somewhere to go. By changing the last step of the anchor while maintaining the anchor connection, you will have the freedom to let the energy built up at the start of the triple settle naturally.
The Drill: Without a partner, place your weight on the leader’s left/follower’s right. For the first step of your anchor, cross in front; remember to keep your weight back during this cross. Recover back onto your original foot for the & count.
The shift from the cross to the original supporting leg should make you want to continue moving to the side. Do so: take the leader’s right/follower’s left to that side about shoulder width. You should have your body over that side; if you landed split weight, you reached too far. Be sure that your body stays back on the side movement, since now you don’t have third foot position forcing you into anchor stretch. It’s okay to take the side step on a slight back diagonal in order to aid the stretch.
Once that motion is comfortable, practice continuing into the next pattern. Both leaders and followers should sink into their hip slightly as usual for an anchor. Before stepping 1, both sides should bring their free foot (leader’s left/follower’s right) under the body before moving backwards or forwards. Leaders, you can get away with not closing the feet entirely as long as your left comes beneath your hips before going back. Followers, your line looks much better if you actually bring the right foot to the left and brush your thighs before stepping forward with your right.
Bonus Variations: Once you are comfortable ending your anchor to the side from a cross, try with a hook. Again, be very careful that the side step does not send your weight forward. It’s very tempting to move forward because the hook step was back already, but you cannot lose the anchor connection if this variation is going to work.
Do not try this variation if the first step of the anchor is to the side; it’s almost impossible to avoid the waddling look. Your goal is to create the image of your energy gathering to the side with the cross or hook, then being redirected to the other side and settled.
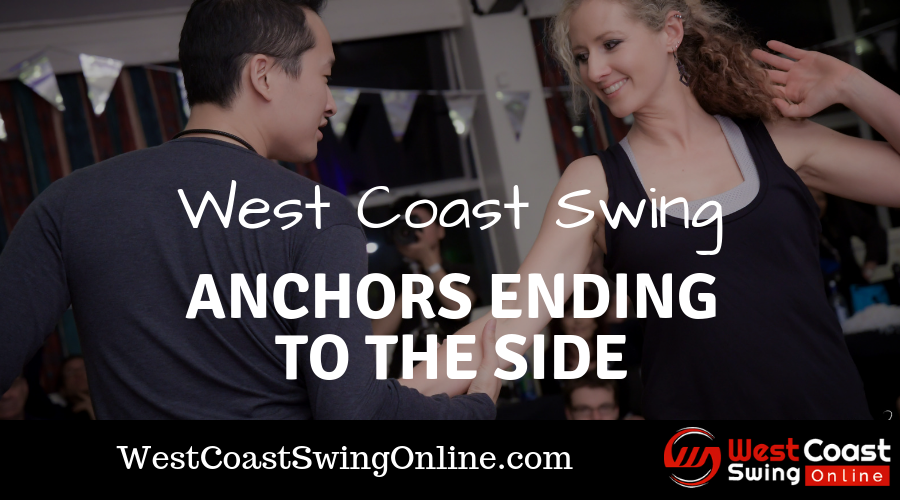
Return to – 6 Ways to Style your Anchor Step


 Brian & Megan